Note: The information in this article applies to Team Foundation Server 2010.
1. If you haven't already, make sure that you have the proper permission or you will encounter the "TF225000: You do not have permission to create new build definitions" error. For configuration instructions, please review the "
How to configure a user to use Build Server" Knowledge Base article.
2. Connect to your Team Foundation Server and then from the Team Explorer window, expand your Team Project Collection and then locate your Team Project.
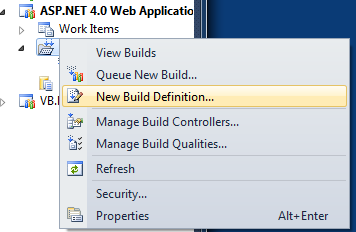
3. Right-click on "Builds" and then click on the "New Build Definition" menu option to start the wizard.
4. From the new window that opens, you'll be supplying values for the actual Build Definition:
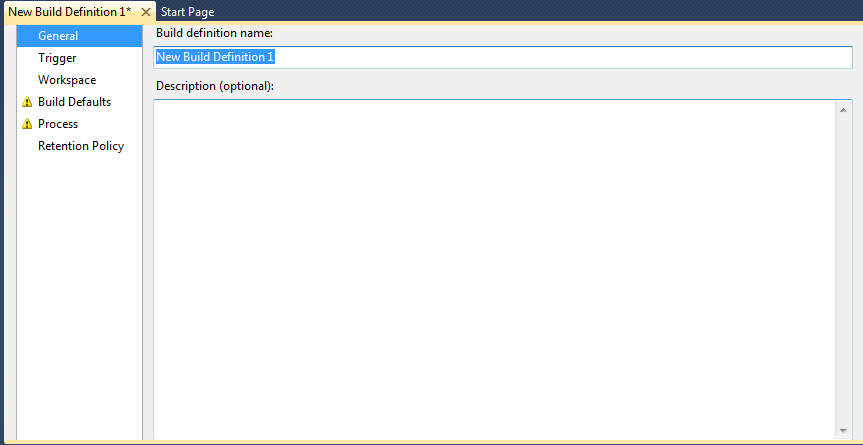
5. Under General, provide a name for your Build Definition.
6. Click on Trigger and then select an option that suits your needs.
7. Now, click on Workspace and and make sure that the correct folders are active. It should be the path to your Team Project and the Build Agent Folder should be set to $(SourceDir).
8. Next, click on Build Defaults. You will need to provide a drop folder location. You can find the drop folder path under the
Build Manager in your DiscountASP.NET TFS Control Panel.
9. Click on Process and you will need to select either the Solution or Project file. On the Items to Build line, click on the "..." button. From the dialog box that becomes available, click on the "Add" button and then locate your solution/project file.
10. Review the Retention Policy settings as you may want to modify the default settings.
11. From the File menu, click on "Save New Build Definition" or just click on the save button in the Visual Studio toolbar.