Note: The information in this article applies to Team Foundation Server 2013.
1. After you’ve established your account, you’ll need to create a user. Access the
User Manager, enter a user name, supply a password, confirm the password and then click the “Add” button.
2. Next, you’ll need to assign permissions for the user that was created in
the previous step. Assuming that this is the first user for the
account, go to the
Global Groups
tool, locate the Project Collection Administrators group, click the
“View/Edit Members” link, and then add the user that was created.
3. At this point, you’ll want to configure Visual Studio 2013 to connect to
your Team Foundation Server 2013 server. If you haven’t already, follow
the steps available in the
Visual Studio 2013 configuration article.
4. Once you’re connected to the server, access the Team Explorer window if
it’s not already available. You can open the window in Visual Studio
2013 by going to the View menu and then click on Team Explorer. If you
have any problems with the menu, you can also go to the File menu, mouse
over the New sub-menu and then click on the Team Project... option.
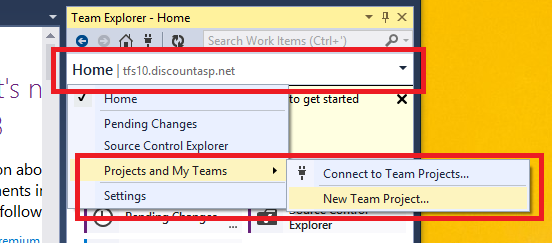
5. From the Team Explorer window, click on Home, then mouse over Projects
and My Teams and then click the New Team Project… option to start the
New Team Project wizard.
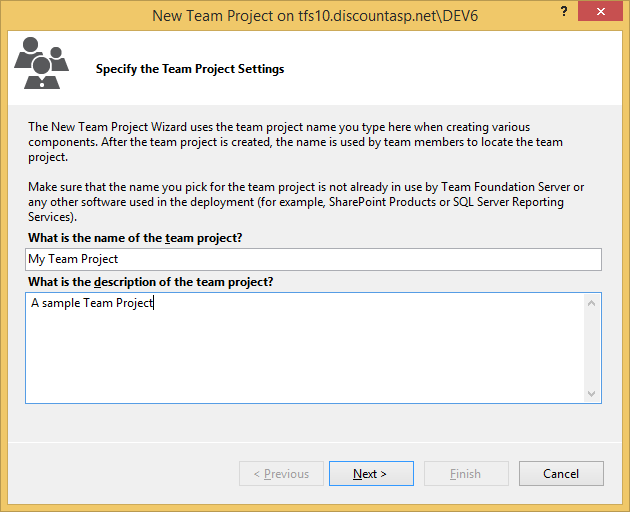
6. The first step will be to provide a name for the Team Project. Enter a
name and a description (optional) and then click on the Next button.
7. Next, choose the process template for the Team Project and click on the Next button.

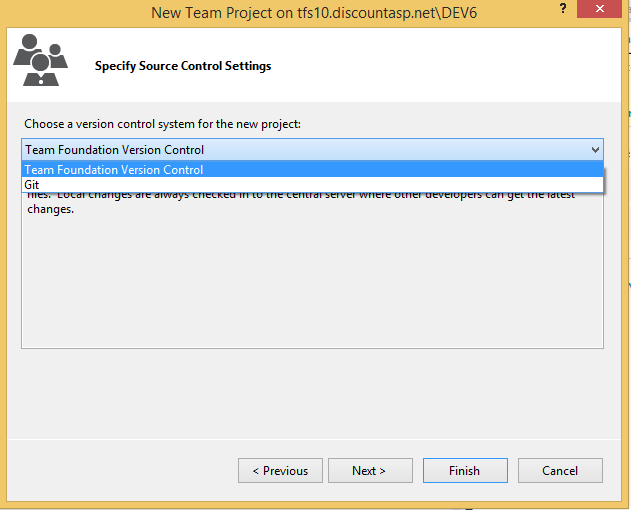
8. Now, choose the revision control provider for the new Team Project. You
can choose Team Foundation Server Version Control or Git.
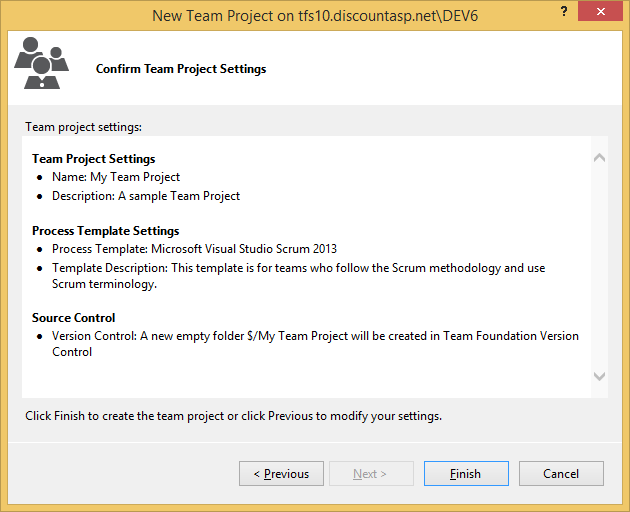
9. Review the settings that will be used for the Team Project and then click on the Finish button.
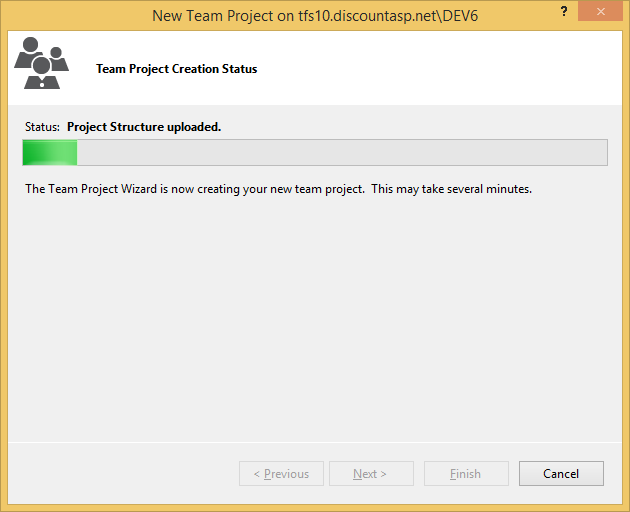
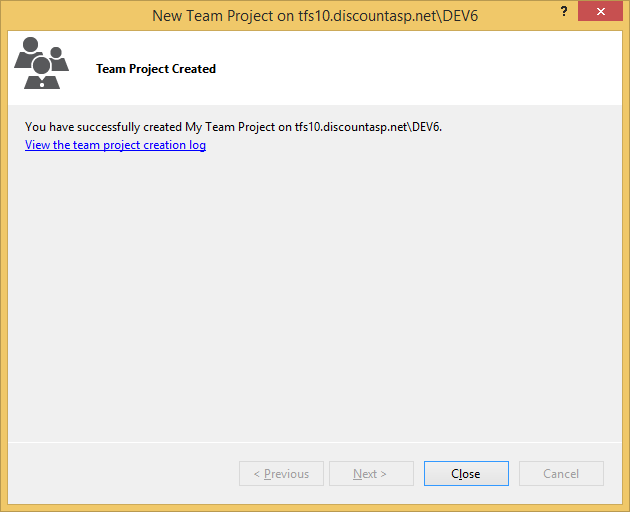
10. At this point, just wait for the Team Project to be created and then click on the Close button once the procedure is finished.
11. Create a new Visual Studio 2013 project or open an existing project.
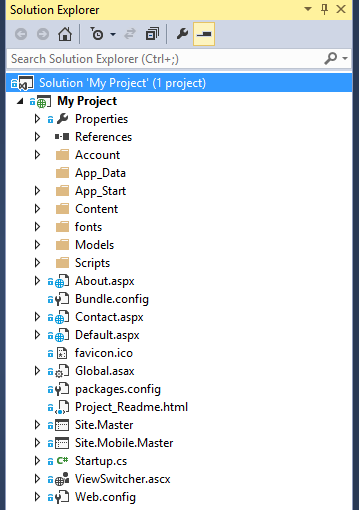
Make sure that the Solution Window is visible and if it’s not active, go
to the View menu and then click on Solution Explorer.
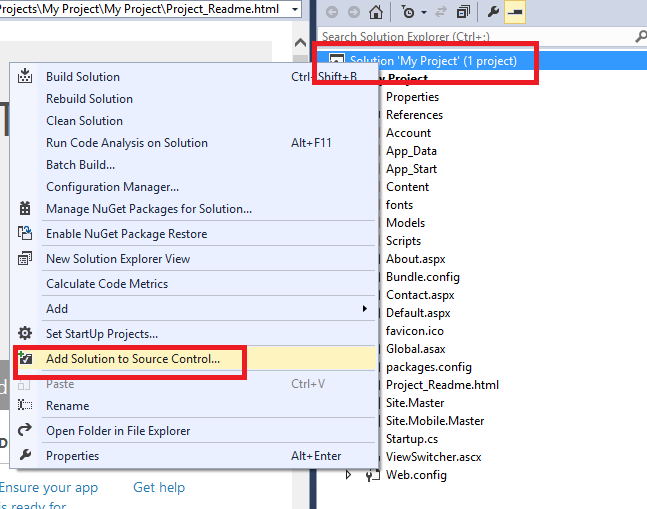
12. From the Solution Explorer window, right-click on the solution and then locate the Add Solution to Source Control… option.
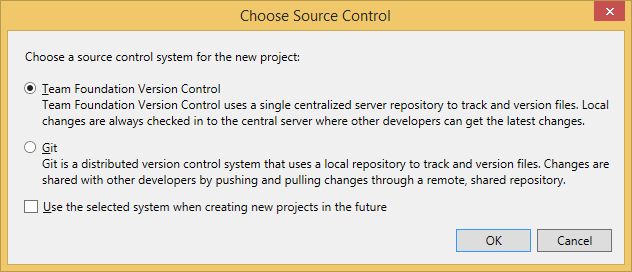
13. If you’re prompted to choose a source control system, select the option
that matches the process template that was used during the Team Project
creation process and then click the OK button.
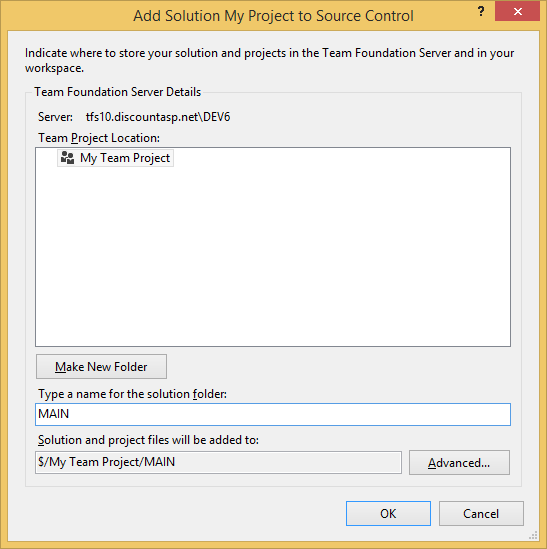
14. From the Add Solution
SolutionName to Source Control window, choose the Team Project location and then enter a name for the solution folder.
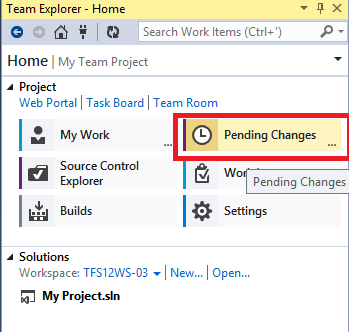
15. You should be taken to the Team Explorer window automatically but in
case you aren’t, you may need to manually access the window. Click on
the Pending Changes… button.
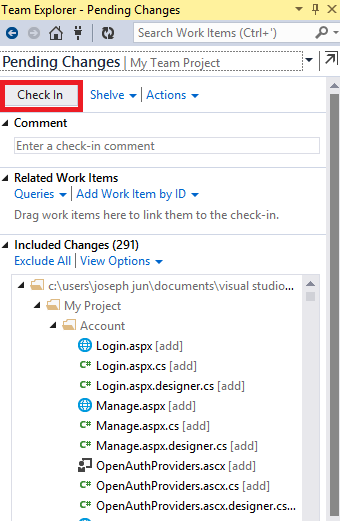
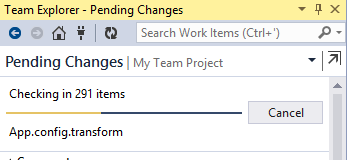
16. From the Pending Changes menu, review all of the included changes to
make sure that all of the required files are added, click on the Check
In button and then wait for the files to be added to source control.
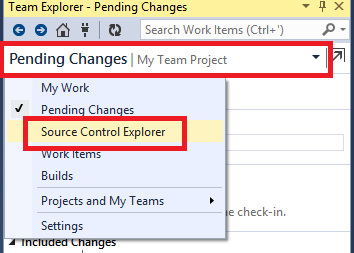
17. To verify that all of the files were successfully added, click on the
Pending Changes area and then select Source Control Explorer from the
available menu.
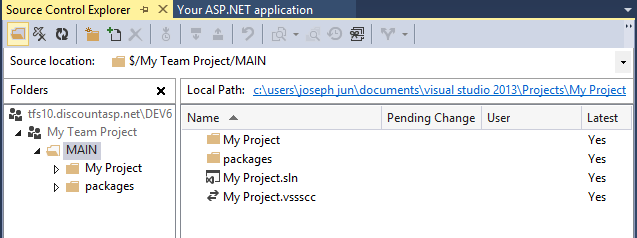
18. From Source Control Explorer, you can take a look around to confirm.
19. When you’re done, switch to the Solution Explorer window and you will
see that files under revision control have a lock icon next to them.
